Remotely Access Raspberry Pi Remote IoT: the Simple and Safe Way to Take Control From Anywhere
If you run sensors, cameras, or little automation jobs on a Raspberry Pi, you will eventually need to remotely access it. Doing it fast is easy. Doing it safely is what protects your IoT device and your home network.
In this article, we explain the safest paths to remote access Raspberry Pi, show where people get burned (with real examples), and share a practical workflow that scales from a single Pi to many connected devices.
We will also show how a reliable VPN like VeePN helps you keep the tunnel private and resilient at the end.


2. Before you start: enable SSH and basic hygiene
3. Choose your lane for remote connection
4. Test on local network first
5. Avoid risky port forwarding and public exposure
6. Set a static IP and find Raspberry Pi’s IP address
7. Harden your SSH server for remote SSH access
8. Remote access Raspberry Pi from outside, safely
9. Quick checklist to securely connect and remotely control
10. Hands-on: minimal setup you can reuse
11. Why VeePN helps when you control your Raspberry Pi remotely
FAQ
Why and how to remotely access Raspberry Pi remote IoT safely
Before we touch a public IP address or try port forwarding on a NAT router, let’s align on the core options you have. Some methods are perfect for a local network. Others work over the Internet. A few are risky if misconfigured. We will keep things clear and actionable.
A little risk reminder: open services get scanned constantly. Botnets like Mirai still recruit vulnerable IoT gear and launch massive DDoS attacks. Cloudflare reported a 5.6 Tbps blast powered by 13,000+ devices in 2025, which shows what exposed devices get dragged into when unsecured.
Before you start: enable SSH and basic hygiene
A clean setup makes everything else easier. Here is the prep that pays off:
- Enable SSH the official way. On the current Raspberry Pi OS, SSH server is off by default for security. Turn it on in Raspberry Pi Configuration or with enter sudo raspi-config, then “Interface Options” → SSH. You can also flip it in Raspberry Pi Imager under advanced settings during flashing.
- Update and reboot. At the Raspberry Pi command prompt or SSH shell, run sudo apt update and sudo reboot to start from a patched state.
- Know Raspberry Pi’s IP address. On the Pi, hostname -I shows your internal IP address on the same subnet. Router UI also lists it by MAC address.
- Set a static IP inside the LAN. Either configure a static on the Pi or make a DHCP reservation by MAC address so your remote connection target does not move. If you later add dynamic DNS or any “reach me at home” method, this avoids confusion.
- Create SSH keys and disable passwords. Keys give a stronger SSH connection than passwords. We will harden further below.
Having covered such basics in place, choose a path that fits your work. Do you just need a remote terminal or full remote desktop? Or a browser window to a web server running on the Pi. Pick your lane here.
Choose your lane for remote connection
Each approach below includes what it’s best for and what to watch:
SSH client for command line control
- What it is: a secure remote shell to run commands, edit files, deploy code, or tail logs. Use your favorite SSH client on Windows users (PuTTY or the built-in OpenSSH), Linux users, or macOS Terminal.
- Where it shines: headless systems, scripts, CI hooks, and quick fixes.
- Safety note: keep SSH keys, disable password logins, and avoid exposing port 22 on the Internet. We cover this in the hardening section.
VNC server for a full remote desktop
- What it is: visual access to the Pi’s desktop GUI. Enable VNC server and connect with VNC Viewer from a laptop or mobile device. Raspberry Pi OS supports WayVNC and RealVNC.
- Where it shines: visual tools, IDEs, camera previews, and newcomers who prefer a screen.
- Safety note: remote desktop tools get targeted. In mid-2024 TeamViewer disclosed a cyber incident, which is a helpful reminder to keep remote desktop stacks updated and locked down.
Raspberry Pi Connect for browser-based access from anywhere
- What it is: an official, secure service that gives you Raspberry Pi remote access to the desktop and command line from a browser, using WebRTC. It launched in 2024 and left beta in 2025 with efficiency upgrades.
- Where it shines: quick global access without your own reverse tunnels or port forwarding.
- Safety note: still practice least privilege and keep the OS patched.
Built-in web server or API for your IoT projects
- What it is: expose only what the project needs, like a metrics dashboard on port 80 or 443.
- Where it shines: simple UIs, mobile friendly controls, or machine-to-machine calls from other Linux machines.
- Safety note: protect with TLS, a server certificate, and auth. Do not publish the whole Pi to the world for a tiny page.
After you pick a route, make your LAN rock-solid first. Then decide how you will reach the Pi from outside without creating a public target.
Test on local network first
Testing inside the LAN saves time and stress. Do this before touching the Internet.
- Find Pi in the system tray or router list. On Raspberry Pi OS, the network icon helps confirm you are online.
- Use Raspberry Pi connect on the same Wi-Fi to test browser access. Or open your SSH session and verify the shell prompt responds snappily.
- For Raspberry Pi remotely with VNC, open the Raspberry Pi icon menu → Preferences → Configuration → Interfaces tab → VNC, then connect from VNC client.
If all is good inside the local area network, you are ready for safe Internet reachability.
Avoid risky port forwarding and public exposure
It is tempting to forward TCP 22 to the world and call it a day. Please do not. Forwarding ports creates a wide attack surface, invites brute-force traffic, and depends on your external IP staying put. Research and advisories keep warning about exposed SSH services and legacy protocols.
Two examples that show the stakes:
- Botnets still recruit exposed IoT device fleets. The Mirai family remains active and effective, powering record-scale attacks when they find weak devices.
- The Raspberry Pi project disables SSH by default to prevent easy takeovers with default creds. That is how common Internet-exposed attacks are.
If you truly must publish something, never expose the whole box. At minimum, use SSH keys, move to a non-standard port with rate limiting, and put a reverse proxy with auth in front of a narrow web server route. Better yet, prefer these alternatives:
- Use Raspberry Pi Connect for browser access with peer-to-peer WebRTC. No router setup, lower exposure.
- Use a reputable reverse-tunnel service or agent that authenticates with an auth token and never opens raw SSH to 0.0.0.0.
- Use a private VPN overlay when you must reach your LAN from the road. We will cover how VeePN helps with the privacy and reliability layer.
Set a static IP and find Raspberry Pi’s IP address
You cannot remotely manage a device if it keeps moving.
Static IP address in the LAN. Either set a static IP on the Pi or, better for most people, make a DHCP reservation by MAC address in your router so the internal IP address stays fixed.
Finding it later:
from a terminal window, ip a or hostname -I on the Pi.
On a Linux computer or macOS, ping raspberrypi.local works on most networks.
On Windows users machines, arp -a lists devices.
With a stable IP address, lock down entry points.
Harden your SSH server for remote SSH access
You can keep SSH remote access safe if you add a few strict rules.
- Keys only, no passwords. Generate SSH keys and disable PasswordAuthentication yes. Keys stop brute force at the door.
- Allowlist users and subnets. In sshd_config, set AllowUsers and restrict to known accounts or a management subnet if you are only using LAN.
- Change the port and rate limit. Non-standard ports cut log noise. Tools like fail2ban blunt brute force.
- Short sessions, long trust. Limit idle timeouts and consider requiring a hardware key for privileged access.
- Keep v1 disabled. Use only SSHv2. CISA guidance calls out older protocols like SSHv1 as insecure.
- Narrow what you expose. If you ever push forward to the Internet, do it temporarily, monitor logs in real time, and close it as soon as the work is done.
Remote access Raspberry Pi from outside, safely
Here are three practical blueprints to remotely connect from anywhere without turning the Pi into a public target.
Use Raspberry Pi Connect
Toggle it in Raspberry Pi OS configuration and sign in. You get a URL that gives a peer-to-peer session to desktop and CLI with no router fuss. Great for laptops and quick field checks.
Use an agent-based reverse tunnel
Examples include lightweight agents that dial out from the Pi to a broker and then permit your sessions with an auth token. You can expose a single SSH server, a web server, or a camera stream. Keep agents updated, scope permissions, and rotate tokens often.
Use a private VPN overlay when traveling
When you are on hotel Wi-Fi or airport Wi-Fi, use a trusted VPN to encrypt traffic so snoopers on the same network cannot mess with your SSH session or sniff credentials. Public Wi-Fi is routinely highlighted for weak isolation and eavesdropping risks.
Whichever path you choose, a few small habits go a long way.
Quick checklist to securely connect and remotely control
- Change the default user, set a long password, then move to SSH keys only.
- Keep the operating system updated. Many IoT compromises come from old packages.
- Do not run your Pi in “IoT slave mode” with full trust to unknown controllers. Only pair with services you control.
- If you use a VNC server, require a strong password and TLS, and never publish raw VNC to a public IP. Security issues in remote desktop stacks appear regularly, so updates matter.
- If you must expose a web server, use TLS, a server certificate, and basic auth at minimum.
- Document the following command you run for setup so you can repeat on more Pi boards and Linux machines later.
Hands-on: minimal setup you can reuse
You can paste these in a terminal icon session or SSH shell:
- Enable services and update
sudo raspi-config # Interfaces → SSH or VNC
sudo apt update && sudo apt -y upgrade
sudo reboot
- Create a new user and keys
# on your laptop:
ssh-keygen -t ed25519
ssh-copy-id pi@<internal IP address>
# on the Pi: lock it down
sudo nano /etc/ssh/sshd_config
# set: PasswordAuthentication no
sudo systemctl restart ssh
- Optional QoL
- Headless flash with Raspberry Pi Imager and pre-set Wi-Fi, enable SSH, and hostname.
- Reserve a static IP address by MAC address in your router.
- If you test remote desktop, install VNC server and connect with VNC Viewer.
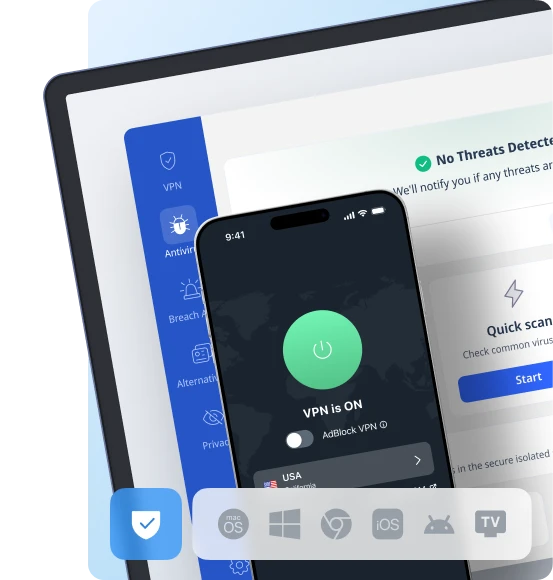
Why VeePN helps when you control your Raspberry Pi remotely
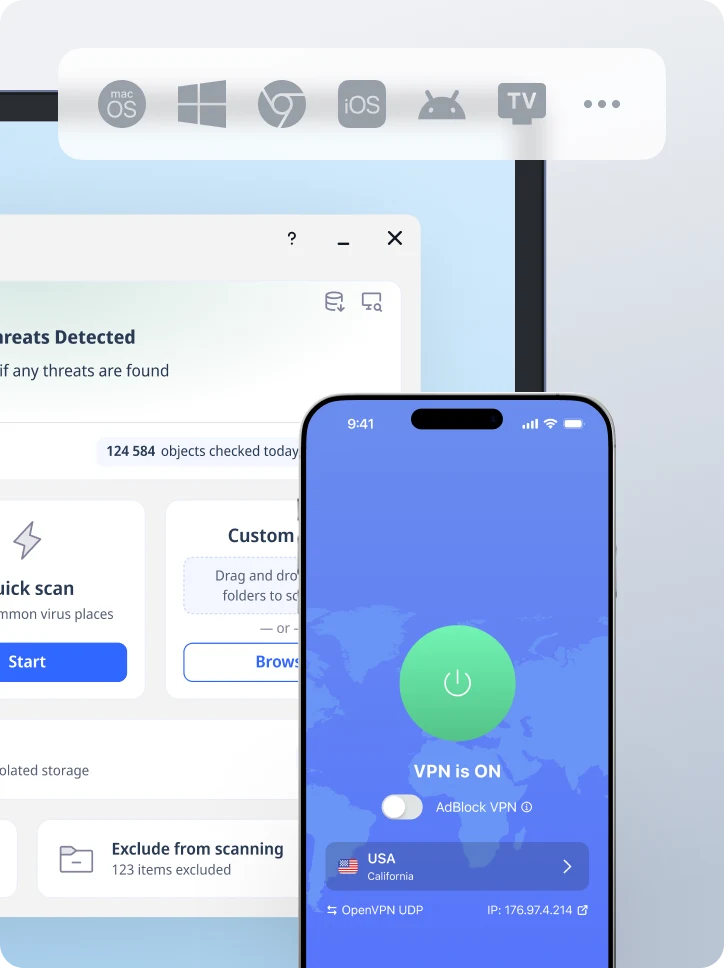
A VPN hardens the path between you and your Pi when you are away from home or using third-party dashboards, shields your IP address, and adds failsafes that keep sessions private if the network misbehaves:
- AES-256 encryption. VeePN encrypts all traffic from your device, so your hotel or cafe router cannot peek into your SSH session, your web server admin page, or your remote desktop stream.
- IP address masking. Hides your public IP address, which limits tracking and targeted probing while you administer devices remotely.
- Kill Switch. If the VPN link drops, Kill Switch cuts the connection so your secure connection does not silently switch to plain Internet.
- DNS leak protection. VeePN uses private DNS to prevent your lookups from leaking to the local network or ISP. That matters when you type hostnames like pi.local or your dynamic DNS domain.
- No Logs policy. Your administration work stays your business.
- NetGuard malware blocker. Helps stop known malicious domains if you click a bad link in a hurry while fixing something.
- Breach Alert. Warns you if your accounts show up in a leak, so you can rotate keys and tokens fast.
- Split tunneling. Route your admin tools through VeePN while keeping streaming or downloads on normal Internet to save bandwidth.
- Obfuscated servers and 2,600+ servers in 60 countries. Keep stable access when networks try to block VPN traffic, and pick a location that performs best for your mobile device when you remotely connect.
Try using VeePN without risks, as we offer a 30-day money-back guarantee.
FAQ
Scan your local network. On Linux or macOS, try arp -a or ping raspberrypi.local.
On Windows, use your router’s device list and filter by MAC address. Reserve a static IP next time to avoid the hunt.
Direct VNC on a public IP is not recommended. If you need a remote desktop, prefer Raspberry Pi Connect, a reverse tunnel with an auth token, or first connect through a VPN. Always set a strong VNC password and enable encryption on the VNC server. Discover more in this article.

VeePN is freedom
Download VeePN Client for All Platforms
Enjoy a smooth VPN experience anywhere, anytime. No matter the device you have — phone or laptop, tablet or router — VeePN’s next-gen data protection and ultra-fast speeds will cover all of them.
Download for PC Download for Mac IOS and Android App
Want secure browsing while reading this?
See the difference for yourself - Try VeePN PRO for 3-days for $1, no risk, no pressure.
Start My $1 TrialThen VeePN PRO 1-year plan