How to Set Up a Server at Home (and Why You Should!)
Turn your home into a tech hub with your very own server. Whether it’s for storing family photos, hosting game nights, or creating a centralized network, setting up a home server is easier than you think. Read on to discover the secrets of a smooth and successful setup.
What is a home server?
For starters, let’s do a quick home server 101 to make sure we’re on the same page:
A server is a dedicated computer that provides services on behalf of clients, such as ordinary desktop computers or workstations.
A server isn’t just a physical computer. It’s rather a role that a computer takes.
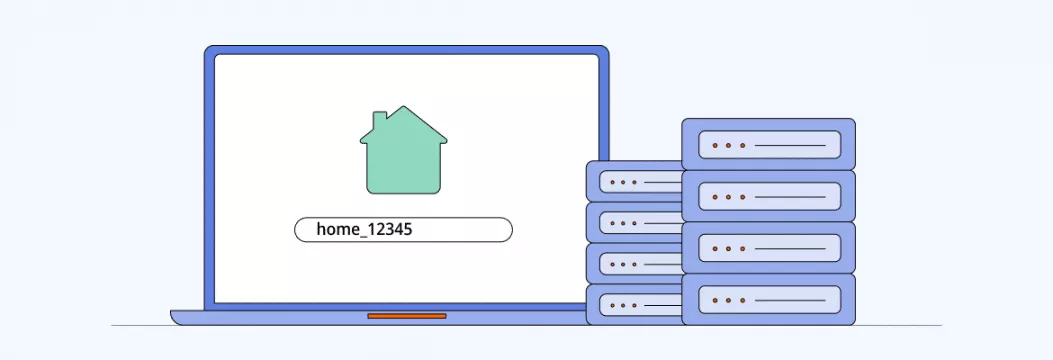
A home server is a computer that acts as a central hub for all your digital devices and information in your home network.
A home server can be a dedicated computer or a software program running on a regular computer.
It’s usually connected to the Internet and the home network through a router.
A home server is like having your own personal butler in your home network. Just like how a butler manages and coordinates all the tasks and resources in a household, a home server manages and coordinates all the digital activities and resources in your home network.
What is a home server used for?
A home server is designed to serve the needs of a home network. With it, you can have all your files, media, and resources in one central location, accessible from any device on your home network. It’s like having a super-powered digital assistant, always at the ready to serve up whatever you need. Whether you want to stream your favorite shows, access files from anywhere, or keep your important data safe, a home server will get the job done.
Benefits of a home server
Okay, let’s now dive into the many ways you can put your home server to use, from file storage to media streaming.
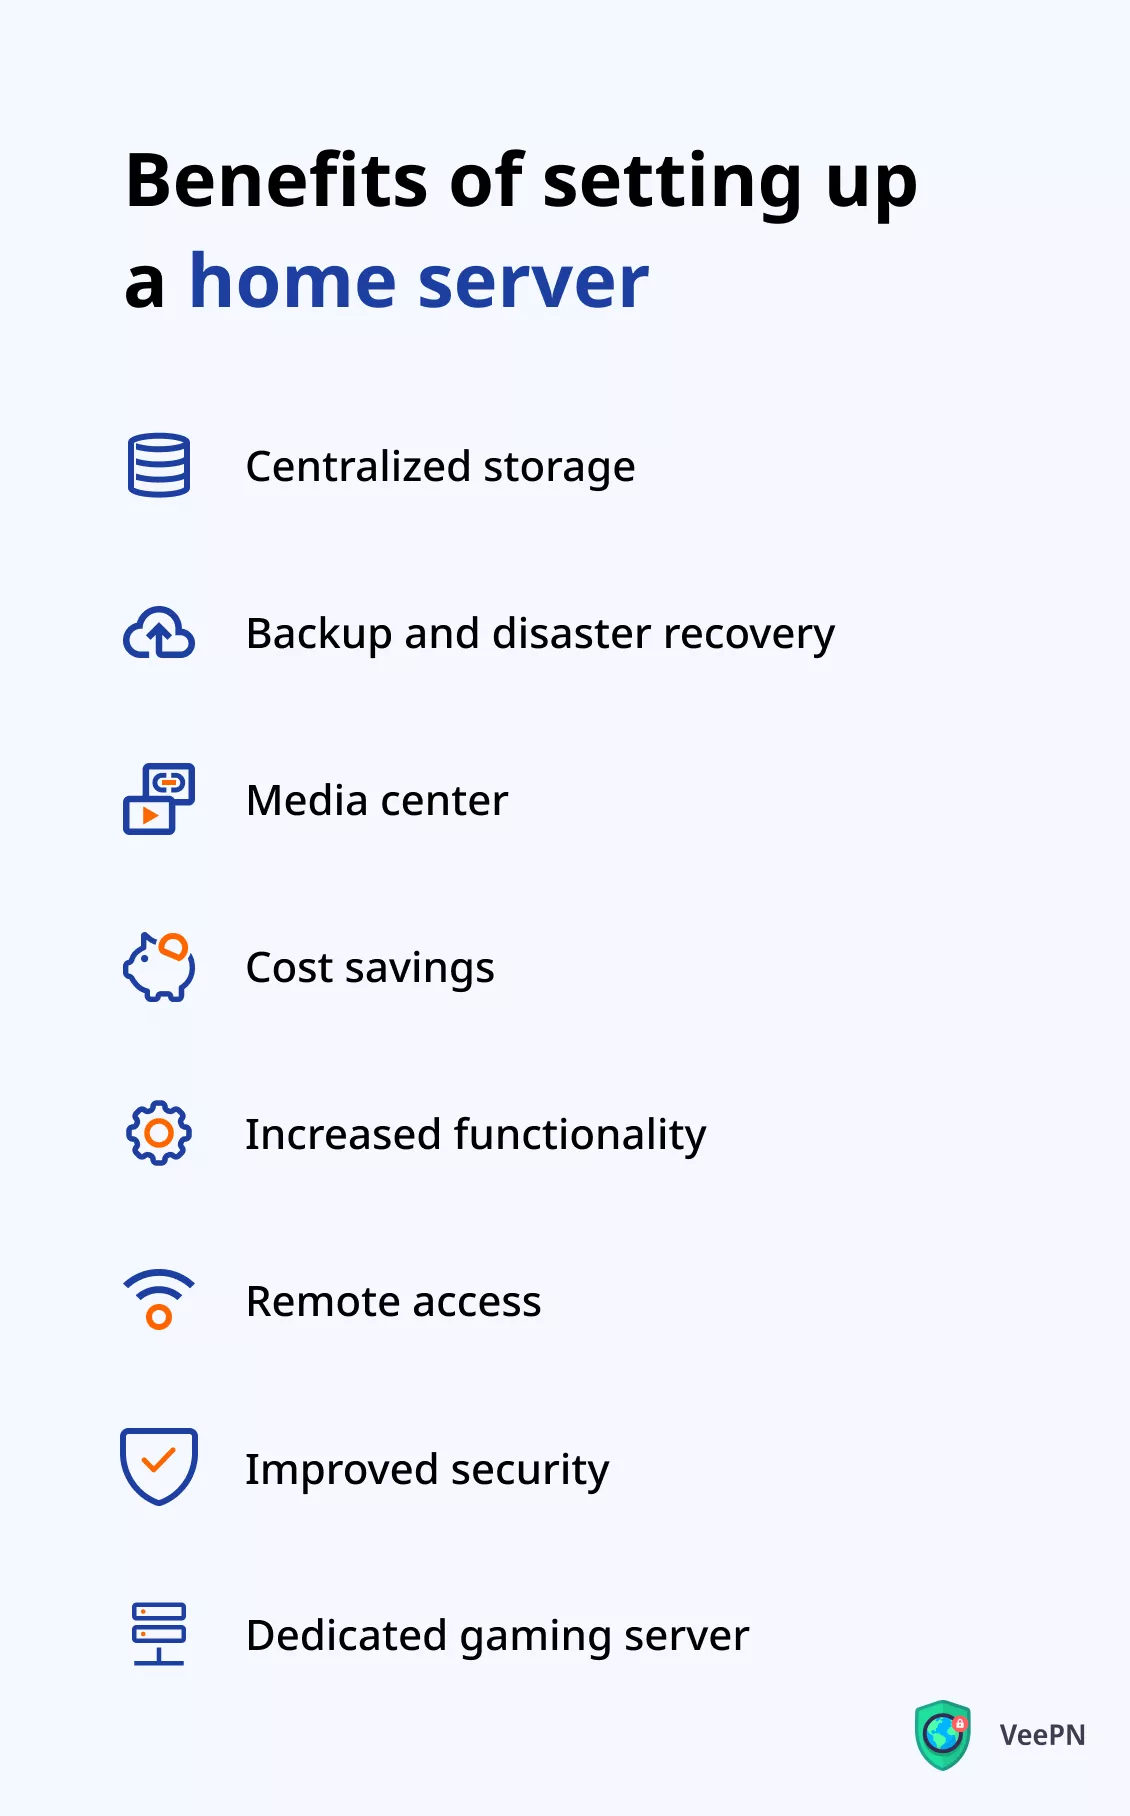
Centralize your files
Centralizing your files with a home server is like having a digital filing cabinet right in your home network. No more searching for files on different devices or worrying about limited storage space. With a home server, you can store all your important documents, photos, videos, and music in one central location, accessible from any device on your network.
Back up your data
Here, a home server acts like a digital lifeguard. With automatic backups, you can rest easy knowing that your important files are protected. No more manual backups or worrying about data loss. A home server makes sure you have a secure copy in case of a disaster, such as a hardware failure or a virus attack.
Stream like a pro
Playing media takes up a significant amount of your computer’s processing power. And it’s certainly not ideal when you want to multitask. But with a home server, you can get a media powerhouse and take the load off your PC and other devices as a nice bonus. For accessing all your local media on any device in your house, a server is one of the best solutions. To make the process even easier, use a service like Kodi, Plex, or Emby to manage your media and control playback.
Save on some costs
Setting up a home server can be more cost-effective than paying for cloud storage or other online services. You only need to invest in the initial hardware (or it can be an old computer), and there are no overhead costs or subscription fees.
Flexible and customizable
With a home server, you have the flexibility to add new features and functionality as your needs change. This could include adding new hard drives for more storage, or installing new software to provide additional services such as a VPN or a file sharing server.
Whenever, wherever
Get ready to channel your inner Shakira because with a home server, you’ll have access to your digital files whenever and wherever you want. No more being tied down to your desk — you can now work from anywhere in the world with just an Internet connection.
Control your data
You may find all of the above cool, but still wonder — why set up a home server if you can just use a service like Google Drive or Dropbox? Data control is why. Although Google Drive and other third-party services don’t own the data you upload to the cloud, they do hold a license to “reproduce, modify, and create derivative works from your files.” But with your own server, you get the benefits of on-the-go file storage plus privacy and security for your data. A win-win.
Boost your gaming
Cool fact — many of the most popular games on Steam let you run the game on your own dedicated server. With it, you can:
- Control and fine-tune all aspects of gameplay
- Control game updates rather than wait for someone else to set up the latest version
- Get improved stability and reduced risk in case your gaming device needs to reboot in the middle of playing
Minecraft, Counter-Strike: Global Offensive, Team Fortress, and Call of Duty are some popular games you can run on your own server. So, setting it up does seem like an appealing option.
Now that we’ve covered how a home server will benefit you, let’s walk through its setup.
How to set up a server at home? A step-by-step guide
Setting up a home server may seem like a daunting task, but it’s actually a lot easier than you might think. With a few simple steps, you can have your own personal server up and running in no time. Here’s a step-by-step guide on how to set up a home server.
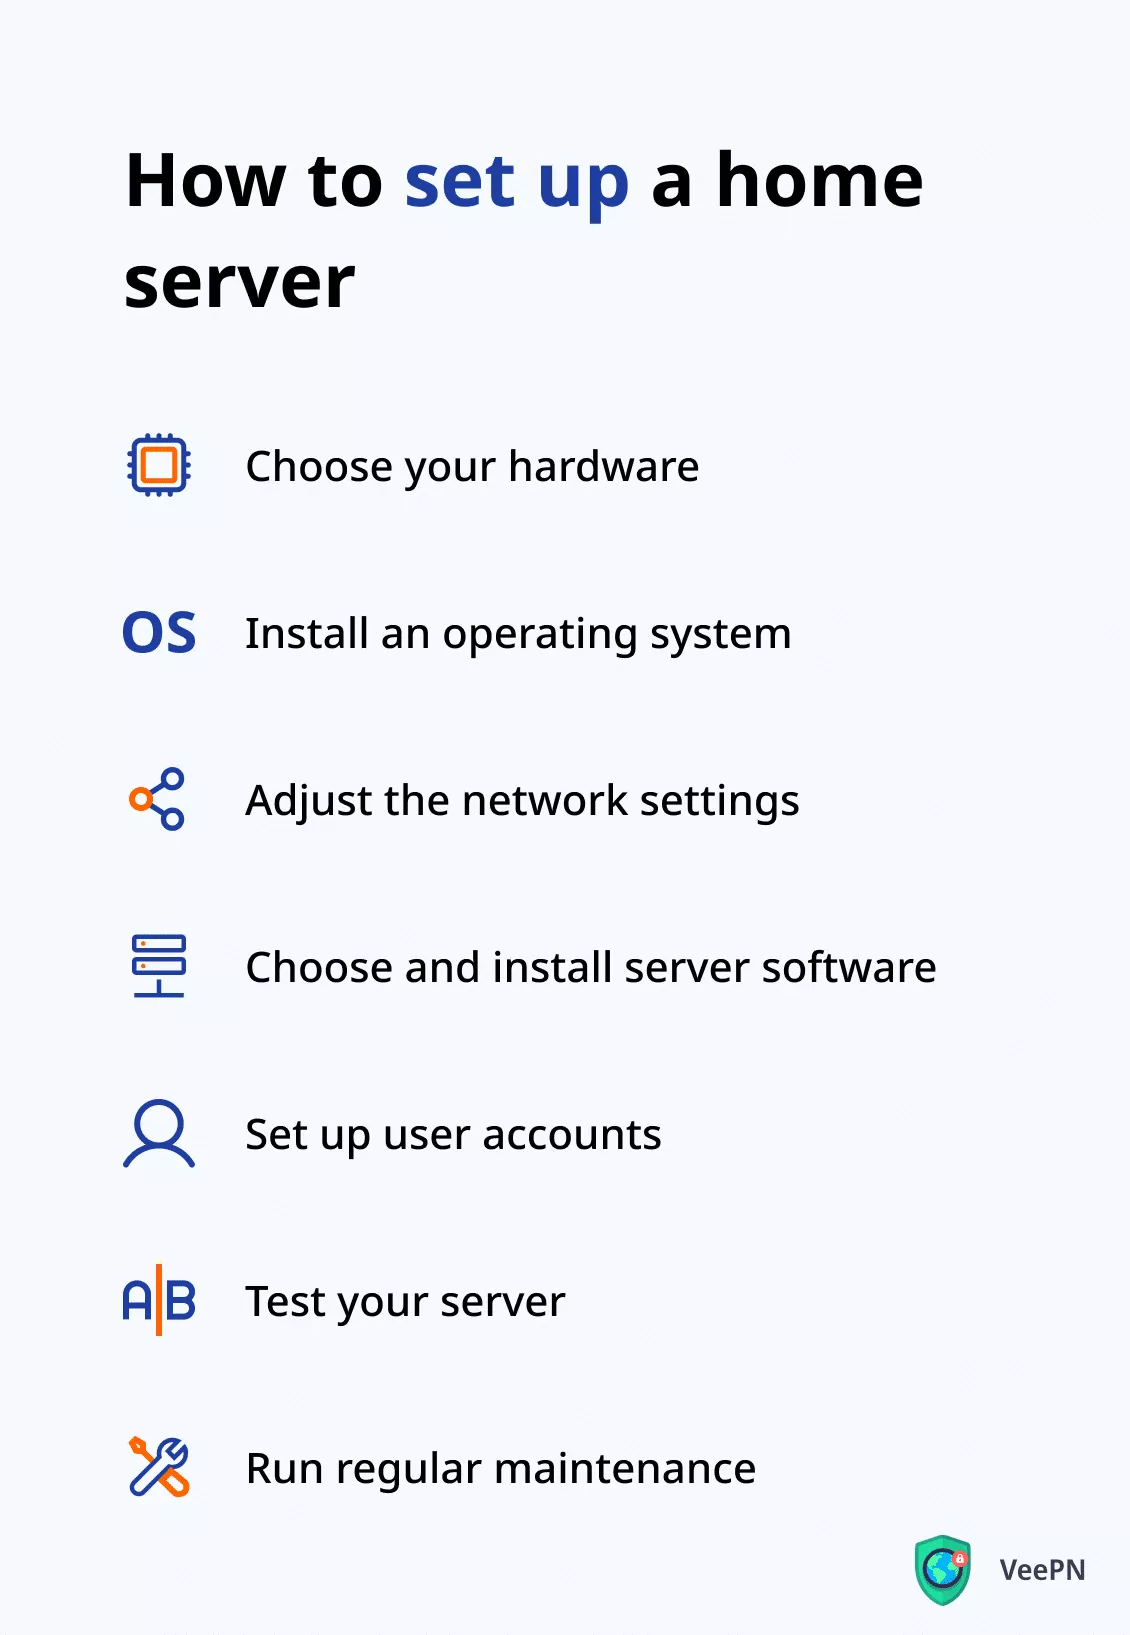
1. Choose your fighter (read hardware)
The first step is to choose the hardware you’ll use for your server. You can use an old desktop computer or purchase a dedicated server device, like a network attached storage (NAS) device.
There are several options for hardware, including small form factor computers, specialized server motherboards, and repurposed older computers. For instance, when choosing the best cheap motherboard, you can get this job done without significant money investments.
2. Install an operating system (OS)
Choose an operating system that fits your needs and is compatible with your hardware. Popular options include Windows Server, Linux distributions like Ubuntu Server, or NAS-specific OS, like TrueNAS CORE (previously known as FreeNAS). When choosing, consider your needs and technical expertise. For example, Windows is a good choice if you’re already familiar with the platform and need to run Windows-specific applications. Linux is a popular choice for home servers due to its open-source nature and versatility. NAS-specific OS are designed specifically for use with NAS devices and offer a user-friendly interface with plenty of features and apps.
3. Adjust network settings
Make sure that the server is properly connected to your network (local network that you have set up in your home or office) and has a static IP address. To do this, follow these steps:
- Connect your server to your network. For example, do so via Wi-Fi or using an Ethernet cable.
- Assign a static IP address. Here’s how you can do it:
- Identify the current IP address of your server. You can usually find it in your server’s network settings or using command line tools like “ipconfig” in Windows or “ifconfig” in Linux.
- Log in to your router’s management interface. You can usually access this by typing the router’s IP address into a web browser (you can usually find your router’s IP address in the documentation that came with it).
- Look for a section labeled “DHCP Reservations” or “Static IP Addresses.” Find the option to assign a new IP address.
- Enter the IP address you identified in step 2.1. Give it a name that’s easily recognizable, like “Home Server.”
- Save your changes and restart your server.
Note: The exact process of assigning a static IP address may vary depending on your router’s manufacturer and model. If you have trouble with this process, consult the user manual or contact the manufacturer for assistance.
- Verify the connection. Open the Command Prompt or Terminal on your computer and use the “ping” command to test the connection to your server.
- Configure the network settings. Log in to your server and configure its network settings to use the static IP address you assigned in step 2.
4. Install server software
Choose and install the server software that you need, such as file sharing, media server, web server, VPN service, or other applications. Research the options and pick the software that best fits your needs and requirements. Examples of software for a home server include:
- File sharing software such as Samba or Nextcloud
- Media server software such as Plex or Kodi
- Web server software such as Apache or Nginx
- Backup software such as Time Machine or BackupPC
- Print server software such as CUPS or HP Jetdirect
- VPN software such as VeePN
5. Set up user accounts
Create user accounts for those who’ll be accessing the server, and set permissions for each user.
6. Test your server
Verify that your server is working as expected. For example, you can access files from a remote device to confirm that it’s accessible from other devices on the network.
7. Run regular maintenance
Make sure to keep your server up-to-date with security patches and software updates, and regularly backup your data to make sure that it’s protected.
Now that you have your home server up and running, it’s important to consider the additional security of your data. After all, the more the better. So let us present your digital bodyguard, or a virtual private network (VPN).
Bonus: Connect your server to a VPN
A VPN takes it up a notch when it comes to your home server’s security. When you connect your home server to a VPN, your server gets a new anonymous IP address and all the data going in and out of your network is encrypted. This makes it much harder for anyone to snoop on your online activities or steal sensitive information. Whether you’re streaming movies, backing up important files, or just browsing the web, a VPN connection will give you peace of mind knowing that your online activities are protected.
Picking a reliable provider like VeePN is all it takes to get an extra layer of security to your home network. Just download the software, install it on your server, and get stronger privacy and security packed within a user-friendly interface.
FAQ
What do I need to set up a home server?
To set up a home server, you’ll need:
- A computer or device specifically designed for use as a home server
- An operating system (Windows, Linux, NAS-specific)
- A router to connect to the Internet and your home network
- A power supply
- Optional: Ethernet cable, switch (depending on network size)
Find the step-by-step guide on how to set up a home server in this article.
Can I set up a server at home?
Sure thing, with the right hardware and software, you can create a home server to centralize your files, stream media, and access your home network from anywhere in the world. Setting up a home server does require some technical know-how and planning, but with the right resources and determination, this won’t be hard. Get walked through the process step-by-step in this article.
How much does it cost to setup a server at home?
The cost of setting up a home server can range, depending on your needs and budget. You’ll need a computer or device, storage, an operating system, a router, and a power supply. Some additional hardware or software may also be required. Depending on what you need the server for, you can also use an old computer you abandoned before opting for new tech — in this case, it’s entirely free.
Is it worth setting up a home server?
A home server can be a game-changer if you have multiple connected devices and a lot of data to manage. It centralizes your files, backs up your data, and makes media streaming and remote access a breeze. Plus, it adds an extra layer of security to your home network (especially if you install a VPN). Find out about more benefits of a home server in this article.
VeePN is freedom