VPN MikroTik. How to Build a Secure Tunnel with Your Router
MikroTik routers are known for being reliable and flexible, but they’re also a bit hands-on. If you’re looking to create a secure VPN tunnel with your MikroTik router, it’s not as plug-and-play as other setups. But the benefits? Complete network control, stronger encryption, and full protection for every device connected to your router.
In this guide, we’ll walk you through the basics of using a VPN MikroTik setup, explain how it works, where it helps, and how to configure it properly. We’ll also show you why pairing your MikroTik router with a provider like VeePN can take your security to the next level, without slowing things down or getting blocked.


Why use a VPN on your MikroTik router
Let’s begin by looking at the real world issues that a VPN can address. You could be running a home network or a small office, but installing a VPN MikroTik system will provide you with strong privacy.
Your location shouldn’t decide what you can access
Without VPN, everything that comes out of your router is exposed and location-based services will limit your view or actions. Many users experience blocked services when traveling or working remotely. Through VPN, your IP is hidden and you will look to be connecting through a totally different location.
Network-wide protection made simple
Instead of putting a VPN application on every device, a tunnel on a MikroTik device will protect your entire network at a particular time. This means that all the devices that connect to the Internet such as your work laptop and smart TV will automatically be protected through your VPN.
Unencrypted traffic leaves you vulnerable
When you use default setups, then your outbound traffic (such as files transfer, logins, or streamed videos) may be intercepted. A good VPN tunnel encrypts all your outbound data to be of no value to hackers, snoopers or even your ISP.
What is a VPN tunnel and how does MikroTik help
Let’s understand how a VPN tunnel works before getting into the configuration, especially on a MikroTik router.
A VPN tunnel acts like a secure pipeline that carries your data between your device and a server on the other side of the world. All the information inside is encrypted, meaning that even if someone manages to peek in, they’ll only see scrambled nonsense.
MikroTik supports these types of VPN tunnel protocols:
- L2TP/IPsec. This is the most common option on MikroTik, and it balances ease of use with solid security.
- OpenVPN. A bit more advanced and flexible, great for fine-tuning your configuration.
- PPTP. Not recommended anymore due to security flaws.
- WireGuard. Still being developed for MikroTik RouterOS but promising for future users due to its speed and modern design.
All of these work by applying an IPsec policy, which is a set of rules that define how traffic should be encrypted and where it should go.
How to set up VPN MikroTik step-by-step
If you’re new to MikroTik or networking in general, don’t worry, we’ll walk you through everything in detail. This guide explains how to set up an L2TP/IPsec VPN tunnel, which is a secure and widely supported option for both MikroTik routers and VPN services like VeePN:
What you need before you start
- Your MikroTik router must be running the latest version of RouterOS.
- You should have access to the router’s admin panel (either through Winbox or a browser).
- You need an active VPN subscription from a provider like VeePN.
- Make sure you know your VPN server IP, username, password, and shared secret – these are usually provided by your VPN service.
1. Enable the l2tp server
This step turns on the VPN server part of your MikroTik router.
- Open Winbox or log in to your router via your browser.
- In the main menu, click on PPP (it stands for Point-to-Point Protocol — don’t worry about the name).
- Find the “L2TP Server” tab at the top of the window.
- Click the “Enable” checkbox so the L2TP server starts accepting connections.
- Below that, turn on the “Use IPsec” option. This ensures the tunnel will be encrypted.
- In the “IPsec Secret” field, type a password (also known as a pre-shared key). You’ll need to use the same key when setting up the VPN connection on your devices. But please, make it strong enough.
2. Create a user for the VPN connection
You’ll now create login credentials that your VPN client (like VeePN) will use to connect.
- Still under the PPP section, switch to the tab called “Secrets”.
- Click “+” or “Add” to create a new user.
- Fill in the Name (this is your VPN username) and Password (VPN password).
- In the Service field, select L2TP.
- For Local Address, input the IP address of your router’s internal VPN interface (example: 192.168.100.1).
- For Remote Address, assign an IP that your VPN client will use when it connects (example: 192.168.100.2).
These two IPs should be in the same subnet and not used elsewhere in your home network.
3. Configure IPsec policy and peer settings
Now we’ll configure the encryption parameters and where to direct the VPN traffic to MikroTik.
- Go to IP > IPsec in the menu on the left.
- Click on the “Proposals” tab and add a new one.
- Name it something like VeePN-proposal.
- Under Auth Algorithm, choose “sha1.”
- Under Enc Algorithm, select aes-256.
- Set PFS Group to none.
Next, go to the “Peers” tab:
- Click Add New.
- For “Address”, enter the “VPN server IP address” provided by your VPN provider.
- Set the “Auth Method” to a pre-shared key and input the same secret you used earlier.
- Under “Exchange Mode,” select main.
- Set “Send Initial Contact” to “yes” and “NAT Traversal” to “yes” (this helps if your router is behind another one).
- Leave other values as default and click “OK.”
4. Route Internet traffic through the VPN tunnel
Once the tunnel is established, you need to direct your devices’ traffic through it.
- Go to “IP” > “Routes.”
- Click “Add New.”
- In Dst. Address, type 0.0.0.0/0 — this means all traffic will go through the tunnel.
- In “Gateway”, choose the “Remote Address” you set earlier (e.g., 192.168.100.2).
- You can also go to “IP” > “Firewall” > “NAT” and add a masquerade rule to make sure your router knows how to send and receive traffic on behalf of the devices in your network.
5. Test if your VPN tunnel works
Let’s make sure everything’s working:
- Open the “Terminal” in Winbox (or use SSH if you’re more advanced).
- Type: ping 8.8.8.8 and press Enter. If the VPN is set up right, you should get replies.
- Try visiting a website that was previously blocked in your region. If it loads — the VPN tunnel is working!
- You can also check your public IP address (just Google “what’s my IP”) to confirm it matches the VPN’s server location.
If something goes wrong, go to “Log” > “System Log” in your MikroTik dashboard. Look for messages that explain what part of the connection failed.
Common issues when setting up VPN MikroTik
Even experienced users run into hiccups when configuring a VPN MikroTik setup. Here’s what to watch for:
Misconfigured IPsec policy
When your IPsec policy does not match on both ends (router and server) the tunnel will not even attempt to connect. Double-check your pre-shared keys, encryption types and NAT settings.
Firewall rules blocking traffic
Sometimes your MikroTik’s firewall is too aggressive and will block the tunnel from forming. You may need to temporarily disable certain filter rules during testing.
Connection drops due to timeout
If you notice the VPN drops after a few minutes, it could be due to NAT traversal issues. Enable “ipsec-nat-traversal” or increase keepalive settings.
Logs not giving helpful info
Go to “Log” > “Settings” and enable verbose logging. This will help you trace the exact point where the process breaks.
Why choose VeePN for MikroTik routers
Not every VPN is built for a MikroTik router. VeePN, however, checks all the boxes, whether you’re trying to secure a home network, a small office, or remote team.
Global server coverage
VeePN runs 2,500+ servers across 89 locations. That means you get high speed, reliable connections in virtually any place. It is ideal to avoid geo-blocks, low latency, and the increase in international speed.
Top-tier security and privacy
VeePN encrypts all your data using AES-256 encryption standard, provides OpenVPN and IKEv2 protocols, and protects all the bits of information. It does not only secure one device, but your entire network.
No Logs policy
Your data, traffic, and activities are never stored or shared. VeePN’s strict No Logs policy ensures full digital privacy even on shared or public Wi-Fi.
Unlimited bandwidth and speed
VeePN does not impose any limit as to the amount you can use and does not throttle. You will have a smooth and unhindered experience whether you are gaming, streaming HD videos or transferring large files.
Supports multiple devices
One subscription protects up to 10 devices. Or, better yet — configure VeePN on your MikroTik router once and all connected devices stay automatically protected.
Try using VeePN for MikroTik without risks, as we offer a 30-day money-back guarantee.
FAQ
Yes, MikroTik routers support various VPN protocols like L2TP, OpenVPN, and IPsec. You can create both client and server VPN tunnels directly through RouterOS.
In order to set up a VPN on MikroTik, you need to:
- Log into the router
- Enable the server type of VPN you desire
- create user credentials and create an IPsec policy.
- Direct traffic through the tunnel.
Find out more details in this article.
A VPN like VeePN is a great fit for MikroTik routers. It supports L2TP/IPsec, has a strict no-logs policy, fast servers, and simple setup instructions. Find out more details in this article.

VeePN is freedom
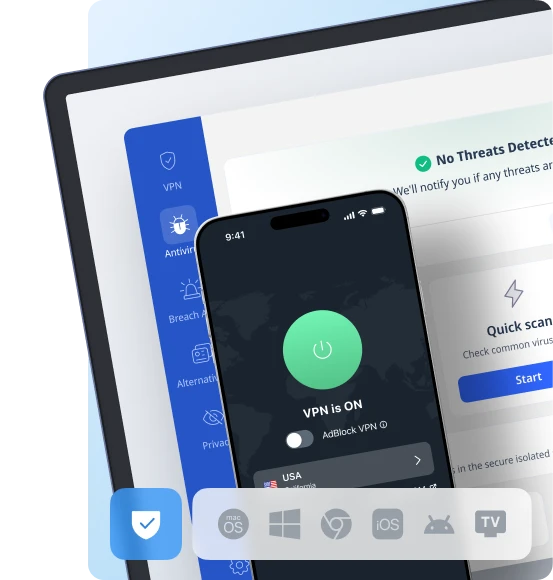
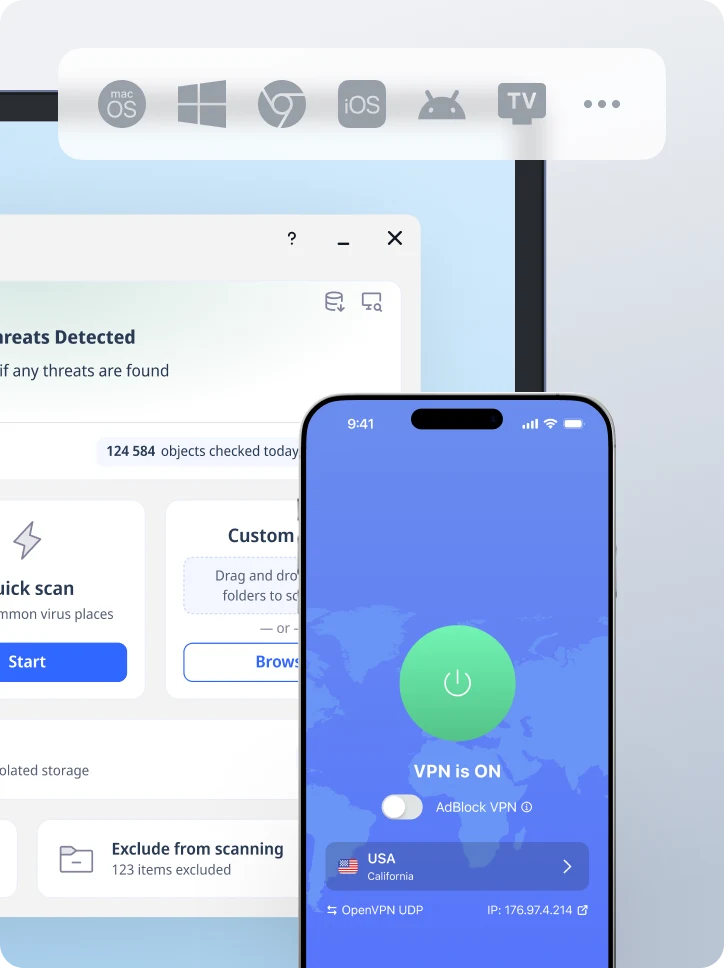
Download VeePN Client for All Platforms
Enjoy a smooth VPN experience anywhere, anytime. No matter the device you have — phone or laptop, tablet or router — VeePN’s next-gen data protection and ultra-fast speeds will cover all of them.
Download for PC Download for Mac IOS and Android App
Want secure browsing while reading this?
See the difference for yourself - Try VeePN PRO for 3-days for $1, no risk, no pressure.
Start My $1 TrialThen VeePN PRO 1-year plan