The Hosts File: A Handy Way to Block Ads for Good ?
The web is full of ads – and we’re not just talking about the odd banner or two, we’re talking about taking up to 50% of the page – a real nuisance. More and more people are making use of traditional ad blockers to get rid of them – but what if you were to look at blocking ads in a different way? Instead of relying on ad blockers, why not try modifying the hosts file on your desktop instead? It pretty much does the same thing, just in a different way – and it’s available to use on your operating system.
Those annoying ads can be really intrusive – whether it’s the same advert popping up on loads of different sites or getting in the way of the actual content you’re looking for, they can be a real pain in the neck. And let’s not forget about the fact that they can be a waste of bandwidth – slowing down your web search and making browsing a chore. By either blocking ads in your browser or using the hosts file on your desktop, you can say goodbye to all those annoying ads for good.

Different Ways to Block Ads
People have been struggling with online advertising for years – and that’s why there are so many different ways to get around them. You’ve got software tools like Ad Muncher, which can block unwanted ads, and built-in browser features like “Block content” on Opera that can do the same job. They’re not bad – but they do need constant tweaking to get the most out of them, and even then, they’re not always 100% effective. Of course, there’s also the hosts file – a secret little gem that lets you block ad servers, which are the ones responsible for delivering ads to websites and keeping track of your browsing habits across multiple sites. Plus, it can help keep malicious software at bay – and as an added bonus, it’s a great way to boost your device’s security. You can usually find the hosts file in the folder for your installed version of Windows – just look under WINDOWS\system32\drivers\etc\hosts. Read on to learn how to get rid of those annoying ads once and for all using the hosts file.
What Is a Hosts File and How to Apply It to Remove Ads in a Browser?
The easiest way to get rid of those pesky ads for good? It’s simple : just modify the hosts file on your computer. The hosts file is just a plain old text file that contains a list of domain names – and it’s used by your computer to look up websites when you type them in. But what’s really cool about the hosts file is that it actually takes priority over the DNS server – and instead of relying on the internet to figure out what to do, you get to manually tell your computer what to expect.
You’ll find that there are loads of different versions of the hosts file floating around – and some people even like to customise them to suit their own needs. The hosts file is actually used by Windows to translate domain names into IP addresses – and the other way around. So whenever you type in a website address on your browser, your computer is actually translating it into an IP address first – and that’s where the hosts file comes in. By editing the hosts file, you can pretty much tell your computer what to do with that website address.
Making Changes to the Hosts File
Best of the hosts file is that it can be edited with any ancient text editor such as Notepad as it would be just like any other text file. However, when you attempt to open it in notepad you may receive an error message that you cannot make changes to it since it is a system file and that your computer is attempting to ensure that it is not damaged. And no, you need not worry, there is a simple solution. All you have to do is right click on Notepad and use the menu option of Run as administrator because that way you can be able to open the hosts file and make the required changes.
- First, right click on Notepad and select the option “Run as administrator” from the menu.
- Go into Notepad and click on “File”, then “Open”, and then navigate to the file C:\Windows\System32\Drivers\etc\hosts. In the “File Name” field, just type %windir%\system32\drivers\etc\hosts and press Enter.
- And that’s it – the file is now ready for editing. Just save it when you’re done, and all your changes will be saved.
Important note: Before you start making changes, it’s always a good idea to make a copy of the hosts file first – just in case you need to go back to the original later on. And if you’re a seasoned user, you might even be able to automate the process using a batch file – which is super handy for repetitive tasks or when you need to use administrative privileges.
When you’ve finished making your changes, just make sure to restart your browser and you’re good to go.
The Hosts File Structure
As we’ve already mentioned, the hosts file is used by your computer to translate domain names into IP addresses. So when you open up the file, you’ll see lines like this: IP address and domain name. For example: 64.233.167.99 google.com. That’s pretty much it – as simple as can be.For example , the computer address is 127.0.0.1. If you type in a line like “127.0.0.1 unwanted site” to your HOSTS file then youll be stuck in a dead end every time you try to visit an “unwanted site”. Some people use 0.0.0.0 as a non-routable/ dummy address or otherwise known as a non applicable target which can provide faster blocking and also normally stop interference with your local web servers. Taking advantage of this you can easily block annoying ads and make the daily internet a cleaner, more aesthetically pleasing, and faster place to be.
How to Block Ads Using the Hosts File?
To block the ad companies that’re everywhere on the internet, its pretty simple – you just list the domains in the Hosts file and prevent any banners, scripts, pop up windows and so on from loading. The Hosts file can also be used to block malware and other dodgy sites, giving you an extra layer of online protection. When a blocked domain is requested, the Hosts file stops the connection, keeping your privacy and security intact by stopping unwanted/malicious requests from loading.
Now, there are loads of these domains so you’ll have to download them as a seperate file and insert their contents at the end of your Hosts file. Note: Users should make sure they have the necessary permissions to edit the hosts file, and on Android, you need a rooted device to edit the hosts file. Any changes to the hosts file may need admin priveleges or special steps on some systems.
If you find missing domains or want to improve public hosts file repositories, you can submit a request to update or add new entries. It wont take long and will help you get rid of ads in no time.
DNS Cache Considerations
When you are employing the hosts file to block advertisements, it is good to know the way the DNS cache can interfere with its performance. This is due to the DNS cache that temporarily holds information regarding domain lookups that can at times imply your system ignores recent modifications to the hosts file. Even after updating the hosts file with the paths to block some of the ads or scammy websites, your operating system/browser might continue using outdated DNS data that lets unwanted material slip through.
Windows Windows has a service called the DNS Client which handles the DNS cache. To ensure that your hosts file modifications are immediately implemented you may either force a flush of the DNS cache by hand with the command prompt ( ipconfig /flushdns ) or you can temporarily disable the DNS Client service. On linux, it is possible to flush the DNS cache with such commands as sudo systemd-resolve -flush-caches or sudo /etc/init.d/dns-clean restart.
Remembering about the DNS cache and maintaining it correctly, you will be able to achieve the maximum with your hosts file and prevent the attempts at adblocking and keeping your computer safe being reversed by the old cache data.
Pi Hole Solution
For those looking for a smarter way to block ads on all devices in your home or office, Pi Hole is a great option. Unlike the hosts file method which only affects one computer, Pi Hole works as a local DNS server for your whole network. By routing all DNS requests through the Pi Hole device (which is often a raspberry pi), it can block ads, trackers and dodgy domains for every device on your network including mobile devices, smart TVs and tablets.
Pi Hole has a few advantages over editing the hosts file directly. It supports frequently updated block lists, provides detailed stats on blocked requests, and lets you customise which domains are blocked or not. With Pi Hole, you can easily manage your ad blocker from a web interface, making it simple to add new block lists or whitelist sites you want to allow. This network wide approach to blocking ads is especially useful for homes or offices with loads of devices, keeping all of them protected without needing to tweak each devices hosts file individually.
If you’re after a good-ol robust, set-it-and-forget-it solution to block ads and unwanted content, setting up a Pi Hole as your local DNS server is a top idea.
Best Practices
In order to ensure that your hosts file continues to serve well in blocking adverts and enhancing your level of security, it is only prudent to observe some simple guidelines. First of all, make sure you get your blocklists out of good sources, such as the MVPS hosts file, which is constantly updated with both the newest ad servers and bad domains. It is always advisable to make a copy of the current hosts file before you do any modifications to the file since you can revert to normalcy in case of any troubles.
In editing the hosts file, a plain text editor should be used and one must not add fancy formatting or special characters. Save the file in its default location, which is usually in the system32/drivers/etc folder on windows, as well as ensure that you possess the appropriate privileges of administrator. Once you have made changes to the hosts file, it is advisable to empty the DNS cache or restart DNS Client service to ensure that changes are implemented. Watch out when other security programs or operating system configurations may come into conflict with your hosts file such as DNS Client service which can override or tamper with your hosts file. Failing to keep your blocklists updated you may haunt yourself back into a user experience full of ads.
Common Pitfalls
Using the hosts file to block ads is pretty straightforward but there are a few common mistakes people make that can really reduce its effectiveness. One pretty basic error is messing up the formatting – every line needs to start with an IP address (think 127.0.0.1) followed by the domain name you’re trying to block, separated by spaces or tabs. If you get this wrong the system will just ignore your entries.
Another issue people often run into is not updating the hosts file often enough. New ad servers and dodgy domains are popping up all the time so using outdated block lists can leave your system wide open to problems. Sometimes people forget to save the file after editing or save it in the wrong place which stops the changes from taking effect. And not clearing out the DNS cache after you’ve made changes can also cause a delay in them kicking in.
Being aware of these potential problems and double checking your work will help you make sure your hosts file is still doing its job of blocking ads and keeping your system safe.
Troubleshooting
Even after you have edited your hosts file, you may still be seeing advertisements. A little systematic trouble shooting should get the matter sorted. To begin with, make sure that the hosts file is of the correct format and that it is in the correct location – on Windows it is commonly in the C:WindowsSystem32driversetchosts. Ensure that you never put any file extension and that you possess the required administrator rights.
Check your DNS cache settings next. Clearing out the DNS cache with the right command on your operating system is an attempt to get the DNS Client service started, in case it is already running. In case the problem still occurs then you can switch off the DNS Client service and see whether it is conflicting with your hosts file.
Conflicts with other security programs or system configurations may also arise then check your antivirus or firewall setting to ensure that they do not override your settings. Having done everything else to help it is possible to restore a backup of the hosts file and attempt to restart all over again, or resort to the assistance of forums and communities based online that specialise in ad blocking and system security.
Through these troubleshooting measures you will probably be able to diagnose and correct most of the issues that might arise with the hosts file, and ensure that your ad-blocking is still effective.
How to Keep on Protecting Yourself Online?
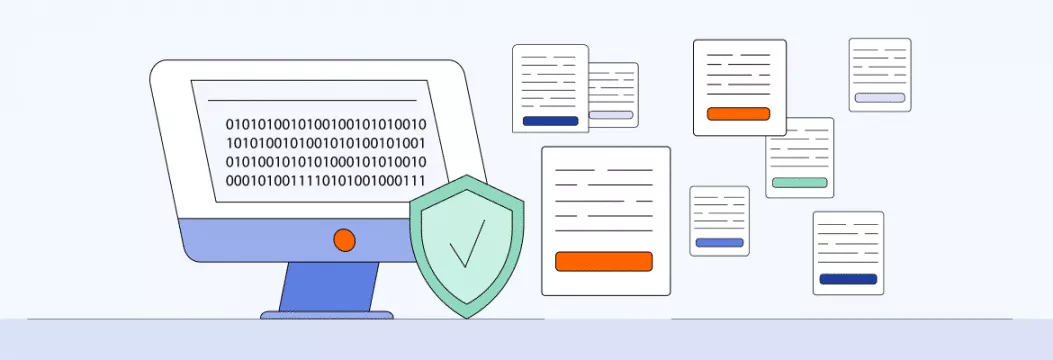
After removing annoying ads, you should think about how to further protect yourself on the Internet. An effective method today is considered to be the use of the capabilities of the VPN. The conception of building virtual private networks was created in the early 1990s and is actively developing today. It is widely used to effectively counter network attacks and enable the active and secure use of open networks.
The conception of building virtual VPNs is based on a fairly simple idea. If there are two nodes in the global network that need to exchange information, then between these two nodes, it is necessary to build a secure virtual tunnel to ensure the confidentiality and integrity of information transmitted over open networks. Access to this virtual tunnel is extremely difficult for all possible active and passive external observers.
The main opportunities of using VPN services include the following:
- Free access to various resources, social networks, news, communication;
- Anonymity in the provider’s network;
- Access to work files (for remote access employees);
- Hiding location, etc.
Try using VPN and ensure complete network security right now!
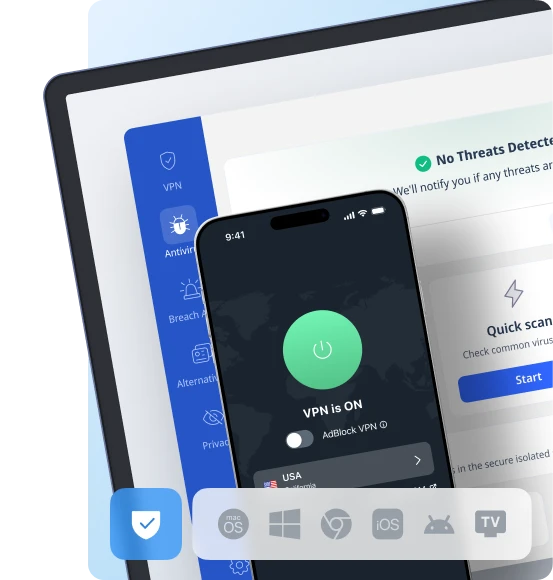
VeePN is freedom
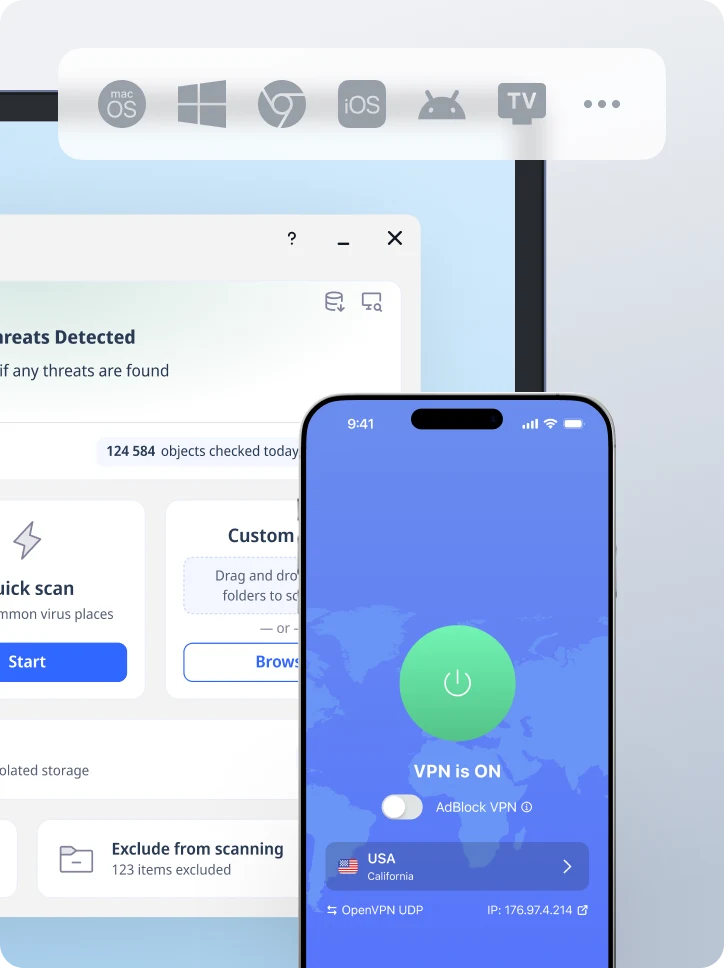
Download VeePN Client for All Platforms
Enjoy a smooth VPN experience anywhere, anytime. No matter the device you have — phone or laptop, tablet or router — VeePN’s next-gen data protection and ultra-fast speeds will cover all of them.
Download for PC Download for Mac IOS and Android App
Want secure browsing while reading this?
See the difference for yourself - Try VeePN PRO for 3-days for $1, no risk, no pressure.
Start My $1 TrialThen VeePN PRO 1-year plan