Factory Reset MacBook — The Simple and Secure Way
So, you’ve decided it’s time to factory reset your MacBook, be it for selling it, fixing a stubborn issue, or just craving that fresh-out-of-the-box feeling. Whatever your reason, resetting your MacBook to factory settings is easier than you think! But before you dive in, you need to know the proper steps to ensure your data is safe and the reset process goes smoothly.
In this guide, we’ll walk you through the entire process of factory resetting your MacBook, from backing up your important files to setting it up like new. Let’s get started!


Why you might need to reboot MacBook to factory settings
Performing a factory reset is an uncommon routine, but it provides the most effective solution to using your device anew. Your MacBook may require resetting for the following purposes:
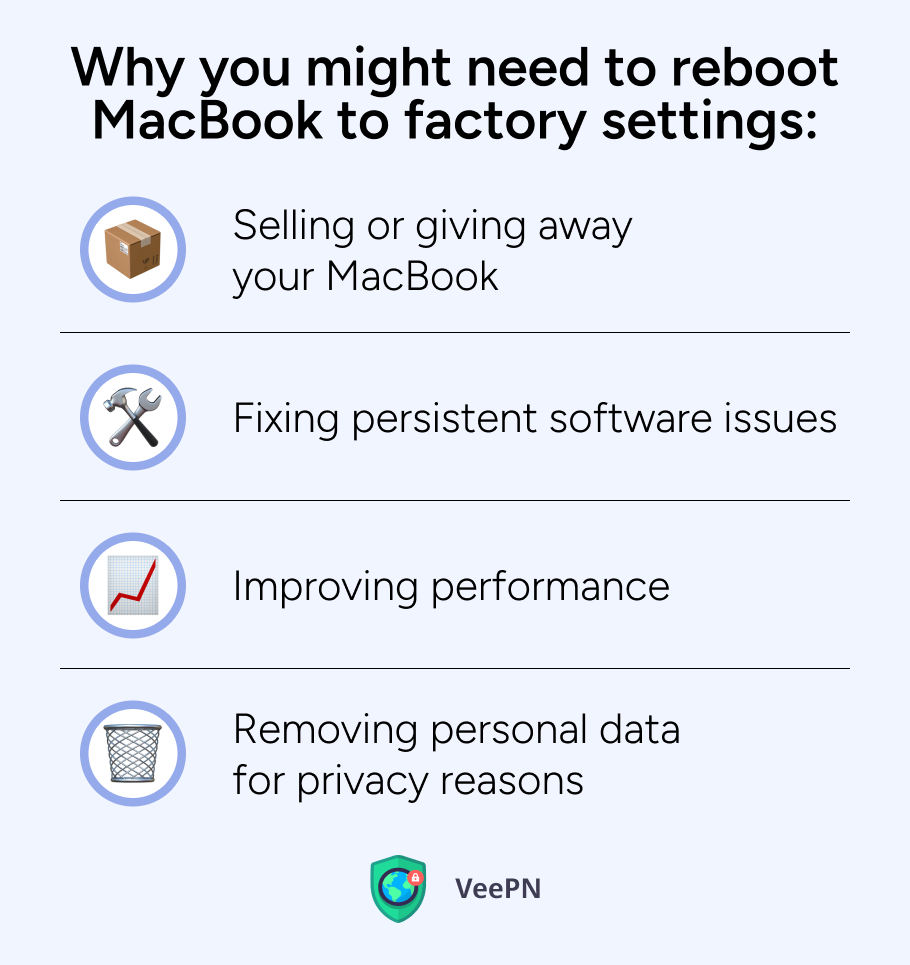
🍏Selling or giving away your MacBook. Wiping all personal data from your MacBook is essential before moving it to another user to safeguard your privacy. Performing a factory reset will remove every file together with passwords and device settings which allows the new owner to start using your MacBook like a fresh brand-new device.
🍏Fixing persistent software issues. A factory reset should be your first choice when your Mac crashes or glitches. Your Mac device will get a fresh start when you reset macOS because it removes damaged system files.
🍏Improving performance. Your MacBook will naturally slow down after a period of time because it accumulates unnecessary files together with outdated content and settings as well as background operations and system preferences. Performing a reset will eliminate unneeded data while returning your Mac to its factory condition to gain faster performance.
🍏Removing personal data for privacy reasons. Resetting your Mac becomes necessary when you intend to keep it while you want to delete sensitive files along with work documents and login credentials. Before giving your laptop for maintenance you should use this feature to reduce risks of unauthorized access to your personal information.
How to reset your MacBook factory settings
Resetting your MacBook to default settings is easy. Just follow these steps:

1.Backup your data before resetting
Before you reset your MacBook you should backup your files so you don’t lose any important data. A factory reset will wipe everything from your device including documents, photos, apps and system settings. Here’s how to secure your data before resetting:
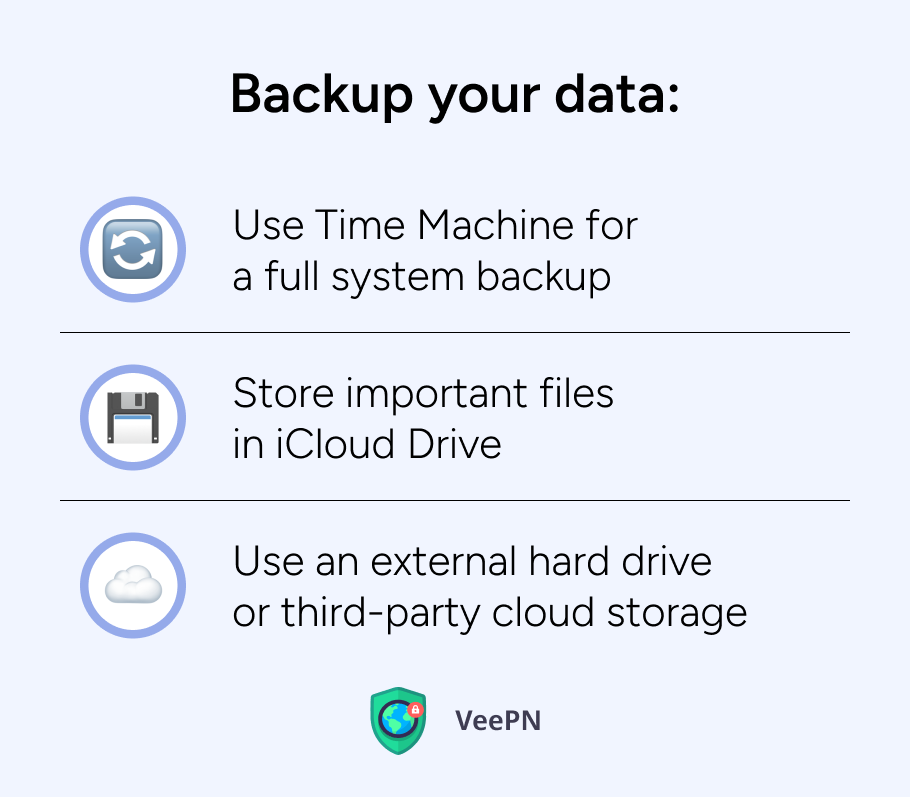
⏲️Use Time Machine for a full system backup. Using Apple’s built-in Time Machine backup tool enables you to protect your entire Mac system. Time Machine performs backup of your whole system after connecting an external hard drive and enabling the feature. The backup process through Time Machine enables you to restore files and rebuild your Mac system to its previous state.
☁️Store important files in iCloud Drive. The iCloud service allows you to synchronize your documents, photos and device settings through cloud storage. Your essential files remain available across all Apple devices since they are backed up to the cloud after performing a Mac wipe.
🗄️Use an external hard drive or third-party cloud storage. You can either transfer your files to external storage or upload them to cloud services including Google Drive, Dropbox and OneDrive whenever iCloud use is not recommended. This backup method provides you with additional protection which suits your needs for securing large files as well as sensitive documents.
Backing up your data ensures you don’t lose anything important during the reset process. Once your files are safe, you can proceed with peace of mind.
2. Sign out of important accounts
Before you factory reset your MacBook make sure you sign out of all important accounts. This will prevent issues like Activation Lock, lost purchases or difficulty accessing your accounts later. Here’s what you need to do before you reset your device:
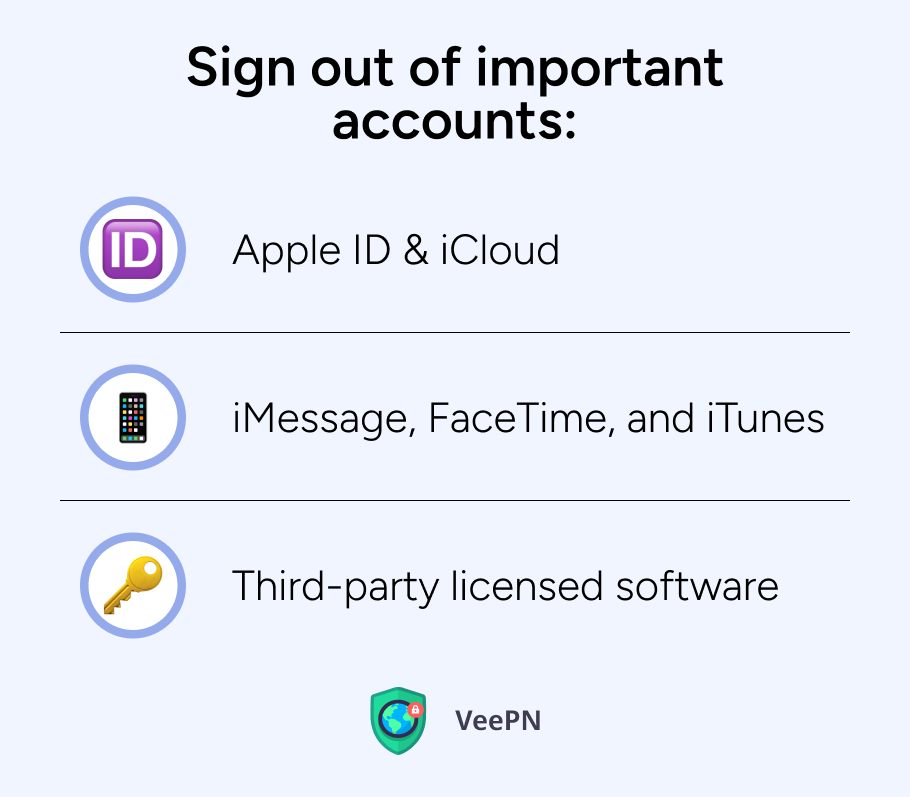
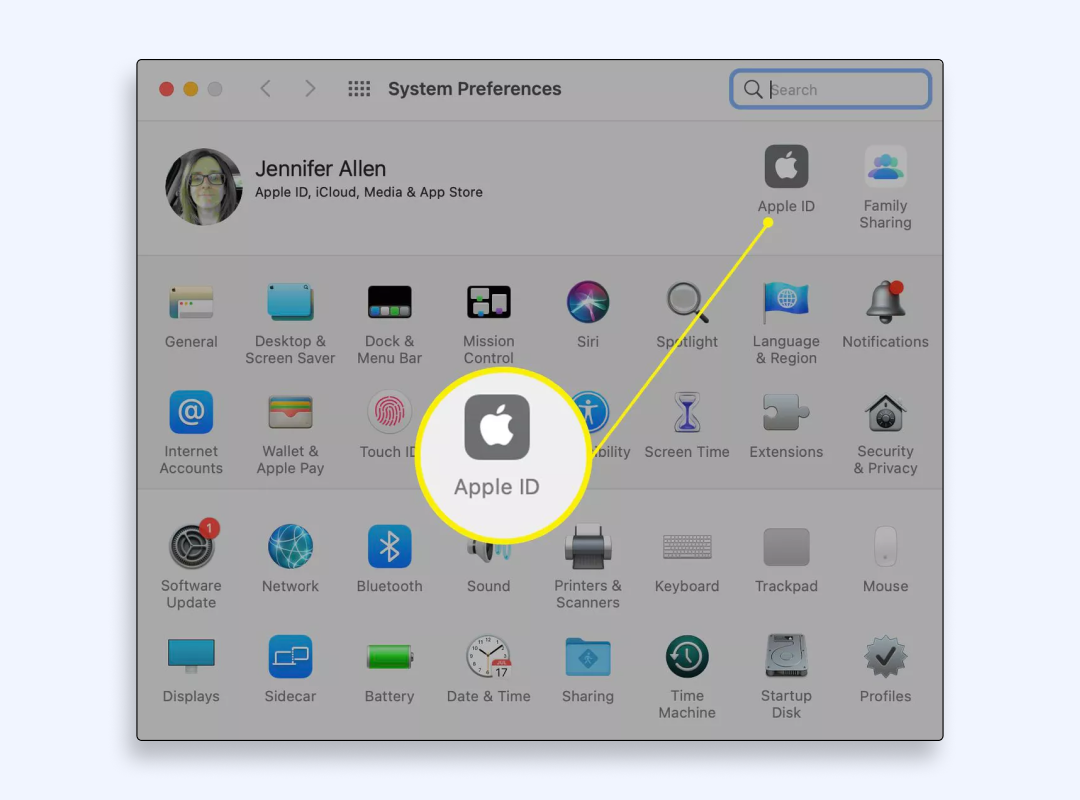
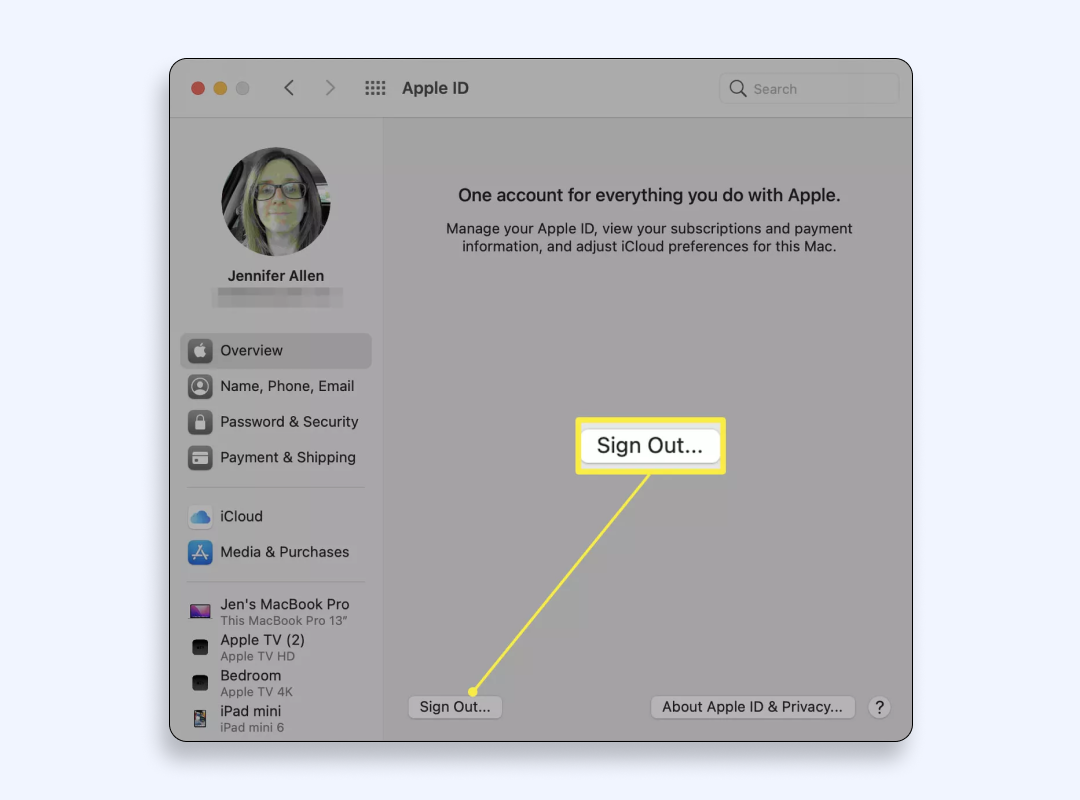
1️⃣Sign out of Apple ID & iCloud. This is the most important step so the next user can activate the Mac without issues. Go to System Settings > Apple ID > Sign Out, enter your password and disable Find My Mac and remove the device from your iCloud account.
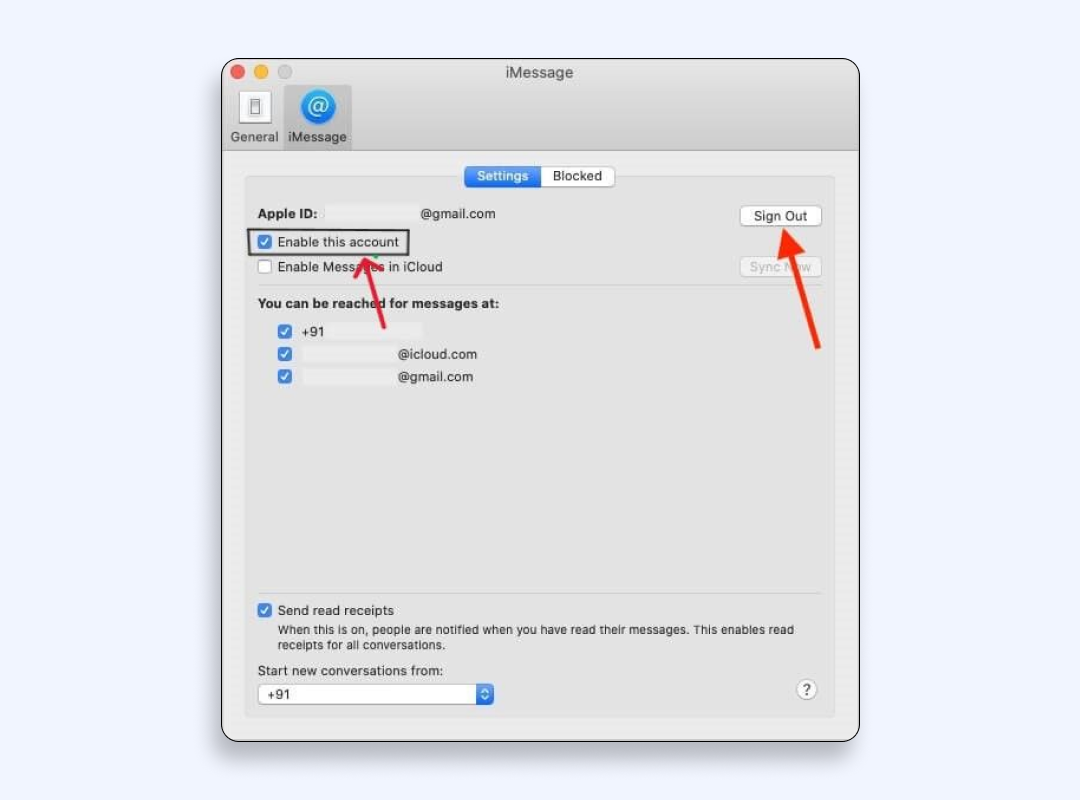
2️⃣Sign out of iMessage, FaceTime and iTunes. Open the Messages app, go to Settings > iMessage and sign out. For FaceTime open the FaceTime app, go to Settings and sign out there as well. If you still use iTunes, open it, go to Account > Sign Out and remove your device authorization.
3️⃣Deactivate third-party apps and licenses. Some apps like Adobe Creative Cloud, Microsoft Office and Final Cut Pro are tied to your Mac. Deactivate them so you can reactivate them later without issues. Check each app’s settings or website for specific instructions.
Signing out of all accounts will ensure a smooth reset process and your accounts will be secure. Once this is done you can erase the MacBook.
3. Erase your MacBook and reinstall macOS
Once you’ve backed up your data and signed out of your accounts, it’s time to wipe your MacBook clean and reinstall macOS. This will remove everything from your device and restore it to factory settings. Follow these steps to erase your Mac and reinstall macOS:
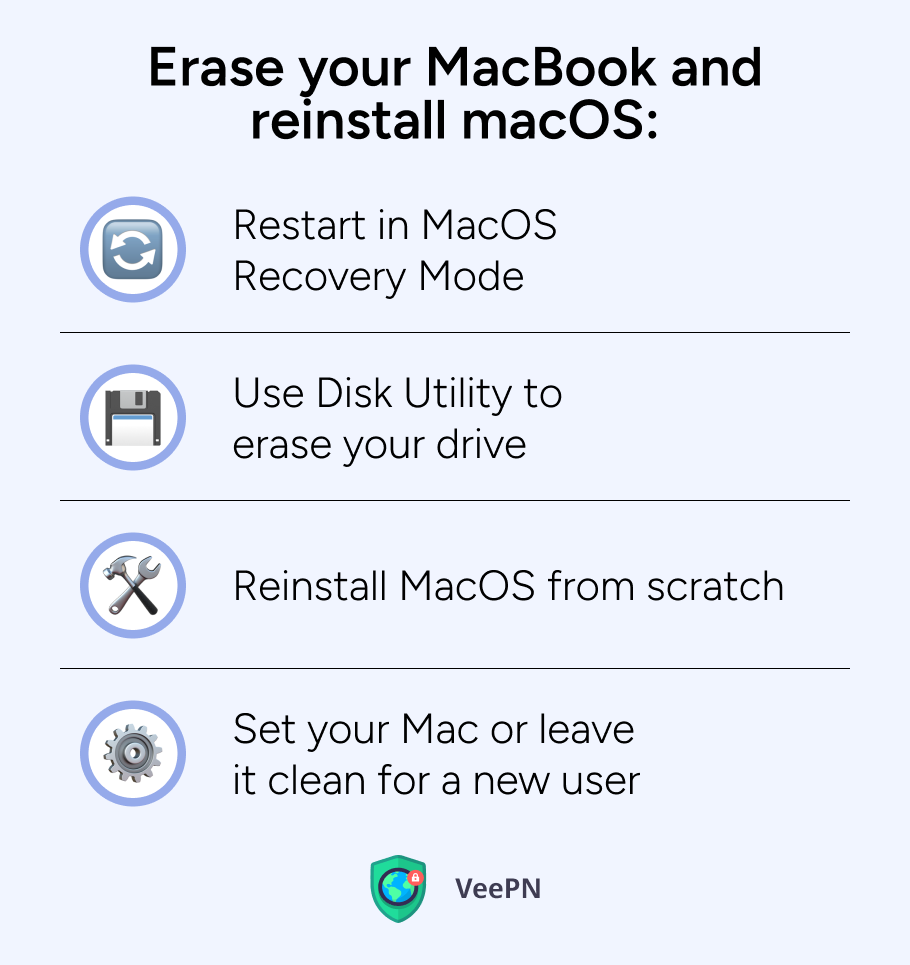
1️⃣Restart in macOS Recovery Mode. Shut down your Mac, then turn it back on while holding Command (⌘) + R until you see the Apple logo or a spinning globe. This will take you to macOS Utilities where you can access the tools to erase your Mac.
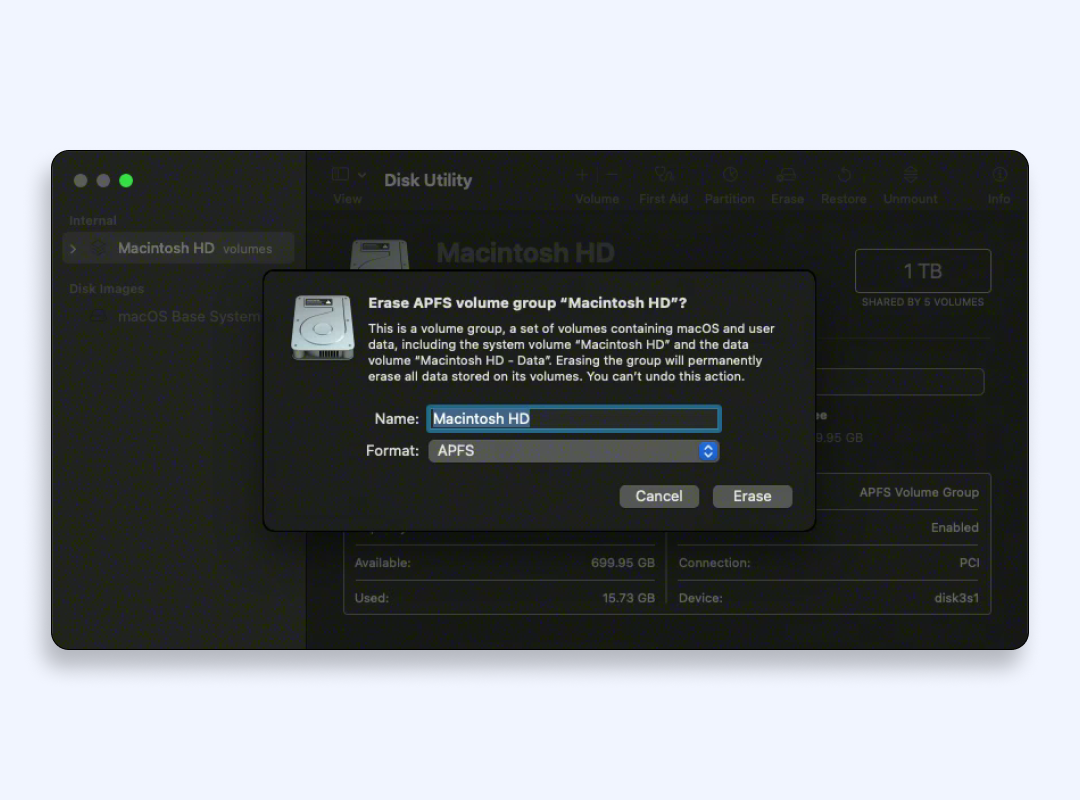
2️⃣Use Disk Utility to erase your drive. In macOS Utilities select Disk Utility and click Continue. Choose Macintosh HD (or your primary drive) then click Erase. Confirm by clicking Erase again. This will wipe your Mac’s storage completely.

3️⃣Reinstall macOS from scratch. After erasing the disk, quit Disk Utility window and go back to macOS Utilities. Select Reinstall macOS and click Continue. Follow the on-screen instructions to download and install a fresh version of macOS. The installation may take some time depending on your Internet speed.
4️⃣Set up your Mac or leave it ready for a new owner. Once macOS is installed, your Mac will restart and show the Setup Assistant. If you’re keeping the Mac, go through the setup process and restore your files from a backup. If you’re selling or giving it away simply power it off at the setup screen so the new owner can set it up themselves.
4. Set up your Mac (or leave it ready for a new owner)
With macOS freshly installed your MacBook is as good as new. If you’re keeping it, you’ll have a clean fast system. If you’re passing it on, the next user will have a hassle-free setup:
💻If you’re keeping your Mac: Complete the processes by going to Setup Assistant to perform an initial setup of your Mac like a fresh installation. Sign into Wi-Fi while using your Apple ID to recover files through Time Machine backups or iCloud Drive. Customise your settings along with essential apps installation and preferences adjustment to return your Mac to its original state.
💲If you’re giving away or selling your Mac: Instead of completing the setup process you should leave it at the “Hello” screen (the first screen of the Setup Assistant). Simply power off the Mac at this stage by holding the power button, so the new owner can go through the setup themselves. This will allow them to sign in with their own Apple ID.
🔎Double-check your Mac is fully reset. Make sure that Find My Mac is disabled and your Mac is unlinked from your iCloud account prior to giving away your device. You can verify this by accessing Apple’s Find My website and examining your device list. You should remove your Mac from your account.
Follow these steps and you’ll have a smooth transition — either for yourself or for the new owner. If you’re keeping your Mac, enjoy the clean slate. If you’re passing it on you’ve done everything you need to provide a hassle free setup for the next user.
5. Ensure data security
Before and after resetting your MacBook it’s important to take steps to keep your data safe. Whether you’re backing up files, erasing sensitive information or setting up the device again, protecting your privacy should be your top priority. Here’s how to ensure your data security throughout the process.
🔐Encrypt files before backing up. If you’re saving your files to an external drive or cloud storage consider encrypting sensitive files to prevent unauthorized access. You can use FileVault (macOS’s built-in encryption tool) or third-party apps like VeraCrypt to add an extra layer of security.
🧹Securely erase your Mac’s drive. When wiping your Mac using Disk Utility select the Erase option, but if you want to go a step further click Security Options and choose a more thorough erasure method. This will overwrite your data multiple times making it almost impossible to recover.
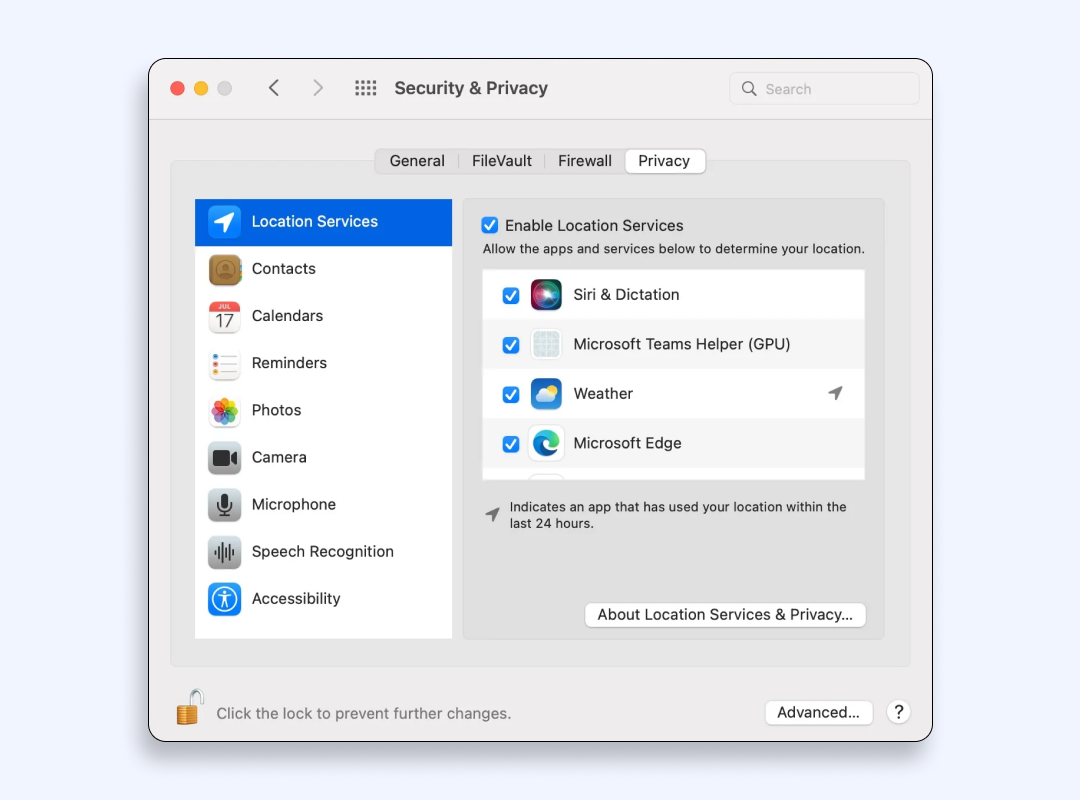
🪬Check and revoke app permissions. Some apps may still have access to your data even after you’ve reset your Mac. Before you wipe your device, go to System Settings > Privacy & Security and review and revoke any unnecessary permissions. Also, check any linked third-party accounts and disconnect apps that no longer need access to your Mac.
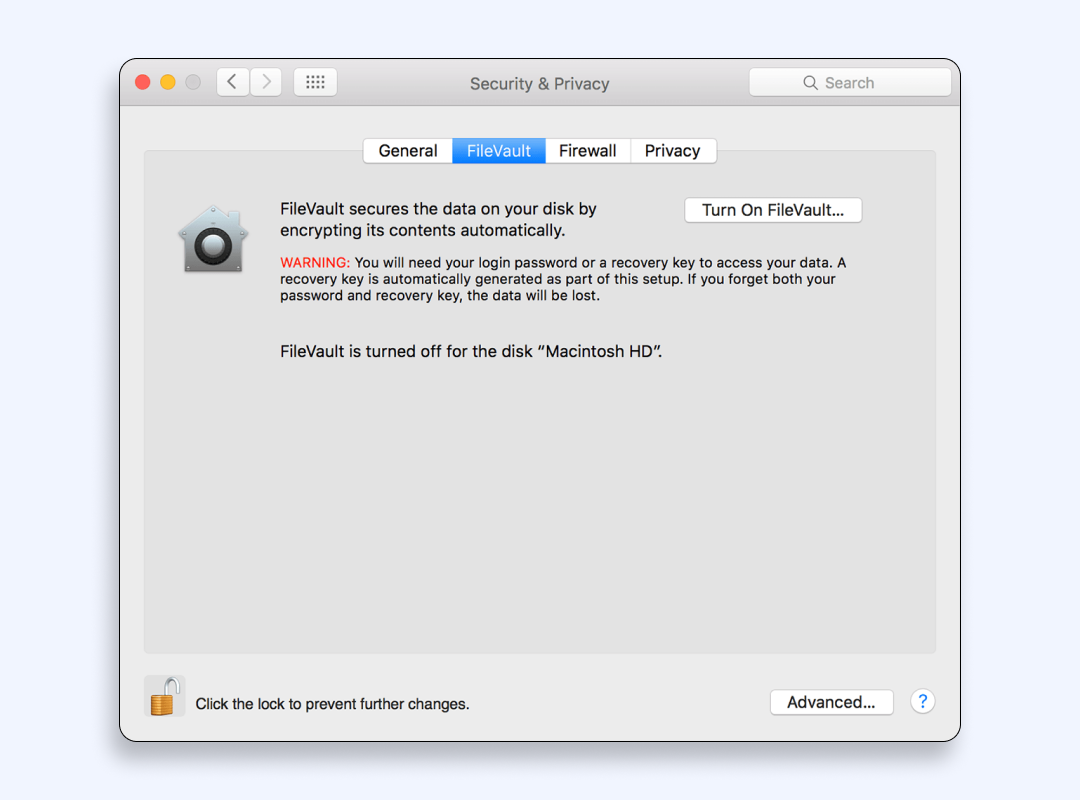
🧱Enable FileVault after resetting your Mac. If you’re keeping your Mac turning on FileVault encryption will protect your files if your device is ever lost or stolen. You can enable it in System Settings > Privacy & Security > FileVault to encrypt your whole disk.
🌐Use a virtual private network (VPN) when backing up or restoring data. If you’re transferring files over the Internet — like uploading to iCloud, Google Drive or Dropbox — use a VPN like VeePN to encrypt your connection. This will protect your personal data from hackers especially when using public or shared networks. But why VeePN? Let’s dive in!
Why choose VeePN for your data security
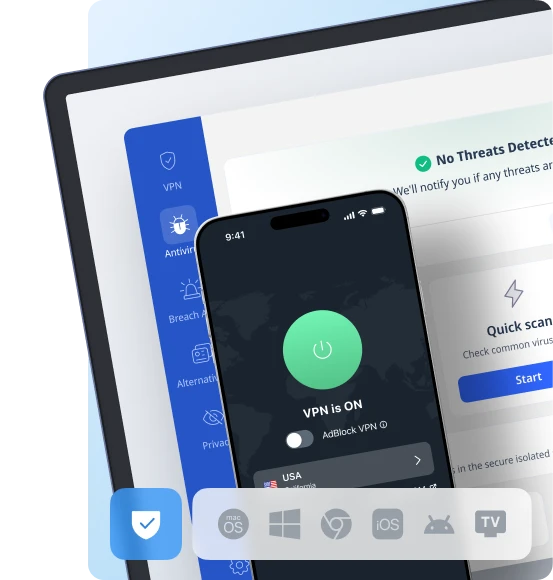
VeePN is a top-notch VPN service that provides strong encryption, IP masking and advanced security tools to keep your data safe. Here’s how it can protect your MacBook:
🛡️Strong encryption. VeePN uses AES-256 encryption, the industry standard in cybersecurity, to protect your online activity. No one — hackers, ISPs or third parties can intercept your data.
🛡️NetGuard for extra protection. With NetGuard VeePN blocks malicious websites, intrusive ads and harmful trackers before they can harm your MacBook. This feature enhances your browsing experience while keeping your device secure.
🛡️IP address masking for true anonymity. VeePN hides your real IP address so websites, advertisers or cybercriminals can’t track your location or online activity. This is especially useful when using public Wi-Fi or browsing privately.
🛡️Breach Alert to monitor data leaks. Through the Breach Alert tool, VeePN informs you when your credentials appear in leaked databases to help you prevent relatable security threats. The tool will send you an immediate notification together when it detects data breaches affecting your online accounts.
Resetting your Mac is a great start but securing it afterwards is just as important. VeePN is fully macOS compatible and will keep you protected whether you’re backing up files, restoring data or browsing the web. And with a 30-day money-back guarantee you can try VeePN risk-free to browse the web safely.
Don’t leave your Mac unsecure — Try VeePN now!
FAQ
A factory reset of your MacBook is likely to take around 20 minutes, but it can last longer or vice versa take less time. To perform a factory reset of your MacBook fast and easy, check this article.
There is no direct way to undo a factory reset on your MacBook. Instead, various data recovery methods exist. To avoid unnecessary stress, consider making a backup copy of your important information before resetting your MacBook to a default state.
In case you forgot your Apple ID password, you have to recover it as you won’t be able to proceed with factory reset of your MacBook without entering a valid Apple ID password.
VeePN is freedom
Download VeePN Client for All Platforms
Enjoy a smooth VPN experience anywhere, anytime. No matter the device you have — phone or laptop, tablet or router — VeePN’s next-gen data protection and ultra-fast speeds will cover all of them.
Download for PC Download for Mac IOS and Android App
Want secure browsing while reading this?
See the difference for yourself - Try VeePN PRO for 3-days for $1, no risk, no pressure.
Start My $1 TrialThen VeePN PRO 1-year plan